
Learning How To Take Food Photography for Your Restaurant
Learn how to master restaurant photography
Food photography is such a key part of marketing and showcasing your restaurant’s style, cuisine, experience, and brand. Marketing platform HubSpot cites that nearly 40% of marketers believe visual marketing is the most important key to marketing success. Hiring a photographer to capture your restaurant’s dishes and food can be expensive and time-consuming. With a little practice and time, you can learn how to take eye-capturing food photos yourself. Read on to obtain some tricks and knowledge about restaurant photography.
Lighting is key

This may be one of the most important factors. Try to shoot near a window that produces natural light during the day or better yet, a window that’s projecting diffused lighting, meaning it’s not direct light onto the subject, but light that has been blocked or lessened by another object. If there is direct lighting that’s creating a harshness onto the subject, you can do a DIY light diffusing approach by using a scarf in the window or closing a curtain to lessen the light. This will help make the subject look its best. Digital Photography Secrets shares that one should avoid lighting food directly in the front of the subject; try to use light from the sides or even back of the subject. The Digital Photography School also suggests avoiding flash at all costs – it can make the food look inauthentic and off-color.
Presentation is also important

Choose dishes that show a variety of colors, texture, and balance. This helps make the food vibrant and bold. A sprinkling of herbs or even an edible flower can add a bit of color and pop to the plate.
Make sure plates are clean – especially stark white plates, which tend to not hide grease or sauces very well. It may be a good idea to ask your Chef for extra kitchen towels so you can wipe down the edges of a plate. DIY Photography suggests adding in some props to vary the background. A flower vase in the background, a patterned napkin placed near the plate, or another dish in the camera’s lens field can add dynamism to the shot.
Also, do not be afraid to play around with the food styling yourself. For instance, Food Photography Blog suggests using a little cooking spray or oil on your vegetables to give them a fresh sheen and natural gloss or investing in some pins to help manipulate and tuck in little stems and such on your subject. These little tricks can help manipulate and make your plate look perfect.
Consider investing in a few key tools
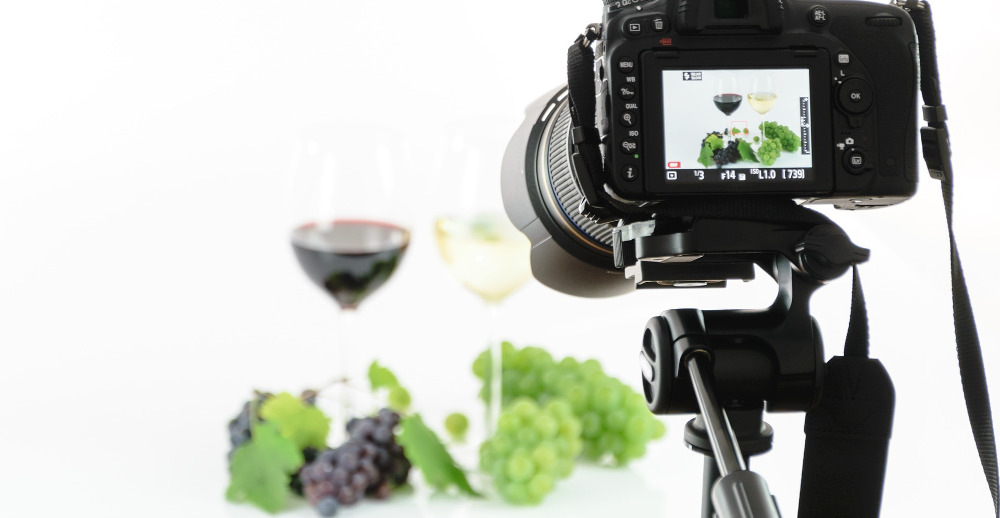
Small, mobile lighting can be helpful when you don’t have access to natural light or the budget for big, bulky lighting. Also, many camera shops sell small and inexpensive tripods, which help the photographer add stability when taking photos. The Digital Photography School suggests employing tripods to avoid shaky hands and blurry images.
Play around with different angles

Play with different angles. Capture aerial and side, and don’t be afraid to go up close. It can also be fun to focus and zoom in on a particular corner of the dish diagonally. Or if you want to play around with action shots, such as sauces being drizzled onto a plate or trying to capture steam rising off of the food, but this can be more advanced. Shooting several dishes on a table from an aerial perspective adds in a nice energy and can tell an interesting story of mealtime as well. Serious Eats Guide to Food Photography says the best way to learn about shooting food and capturing various angles is to just keep playing around until you’re instincts have developed.
Think about the whole picture

What is your goal with each photo? Who or what is in the background? If you’re shooting on a table with other dishes, make sure the background isn’t too distracting. For instance, make sure there aren’t dirty or stacked plates behind the subject. Sometimes it’s fun to shoot in the kitchen, but dirty dishes and equipment can make the photos looks messy or distracting. Do you want people in your photos? Capturing diners or even restaurant staffers as sit-ins can add texture and vibrancy, and shows guests having a good time.
Editing your photos
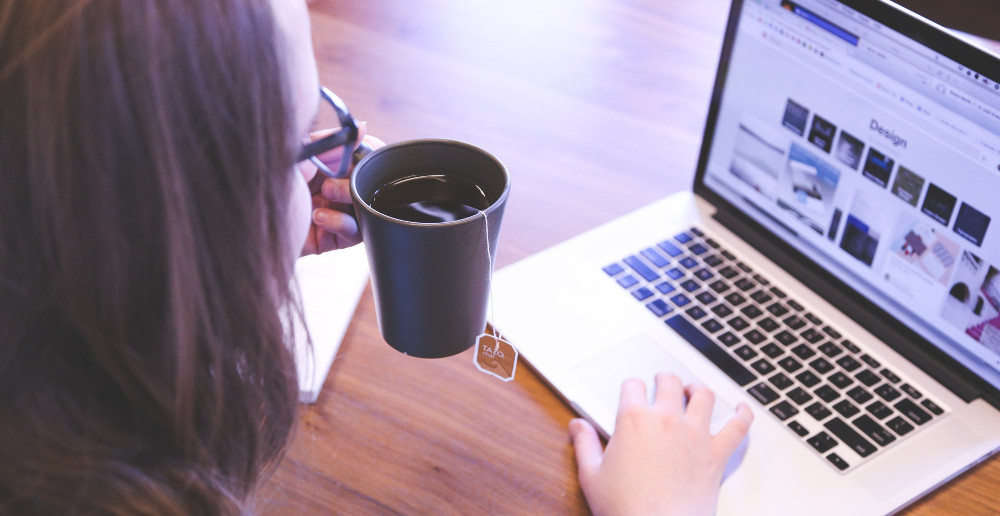
Not everyone has access to Adobe Photoshop. If you do, it’s not a bad idea to quickly edit your photos before you publish them. Some the Wiser, a self-taught Photoshop user, offers playing around with the exposure, white balance, light, and shadows. If you don’t have the budget or access to Photoshop, the Photo app on Macs allows you to play around with contrast and brightness. Be careful to not over-expose or over-saturate your photos though. Camera + is a paid for app that offers a variety of filters and fancy editing tools. And, if you’re planning on publishing your food photos on Instagram, the app offers plenty of various filters and editing tools that help you capture the perfect photo. Here is a comprehensive list of food editing apps, most of which, are free!


